
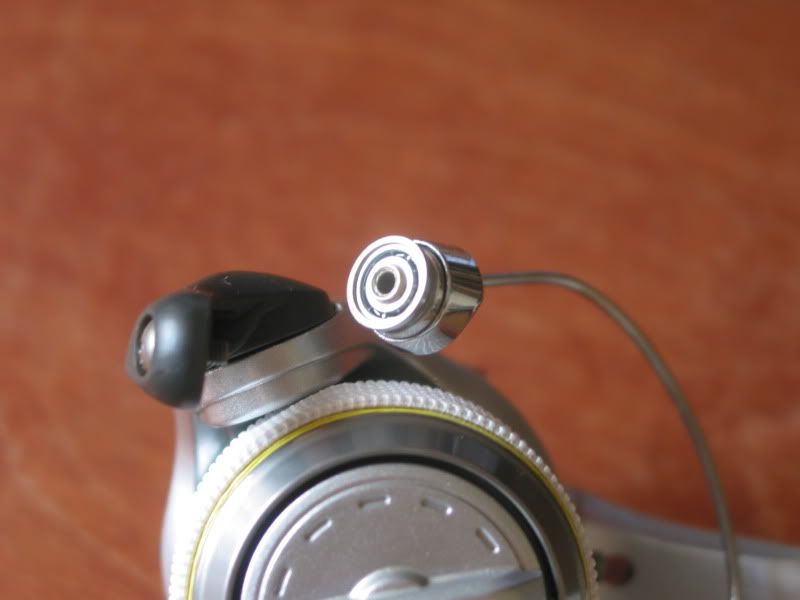
 |
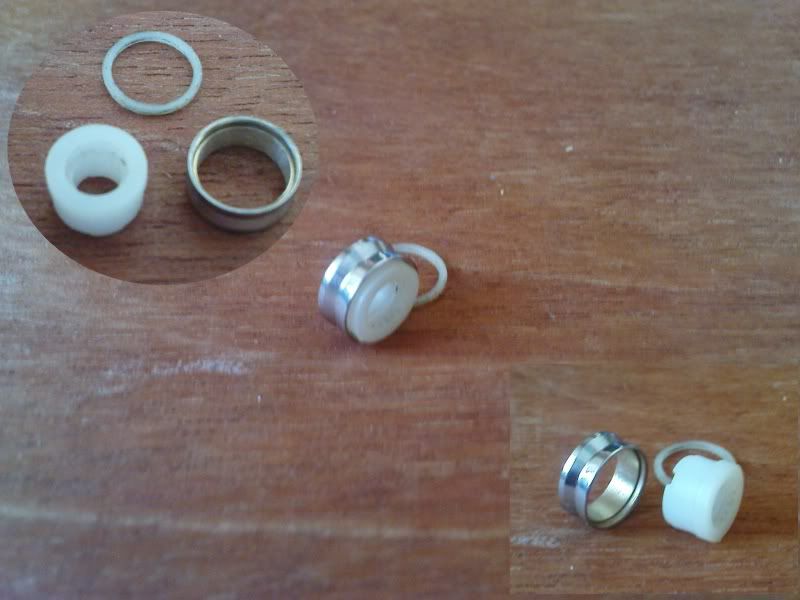
| Parts of the roller bushing |
The problem with version one are
1. Ball Bearing needed work, the outer race have to be grind to a smaller diameter to fit into the roller.
2. That means that for every bearing that got busted, I need to work on the replacement bearing.
3. One part is close to impossible to find, I need something that is easily available since I have 2 more reels to receive the roller bearing upgrade.
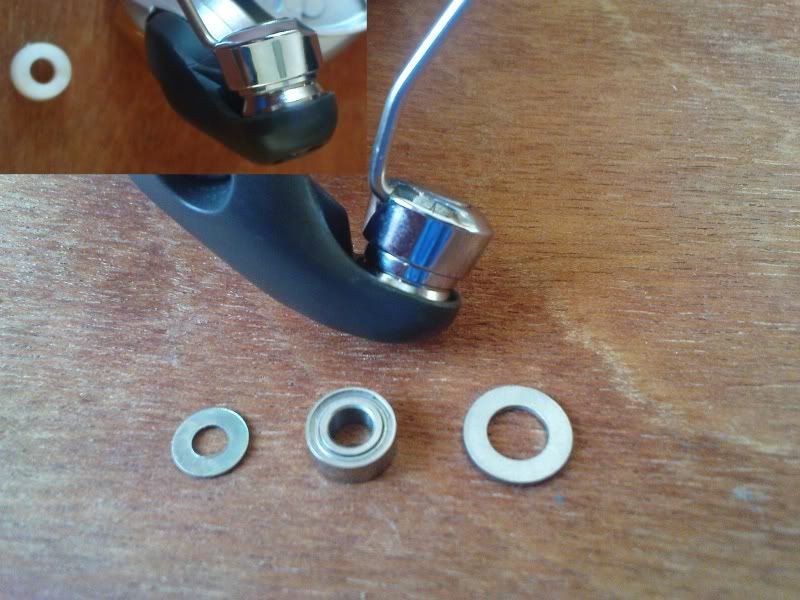
Replacement parts needed
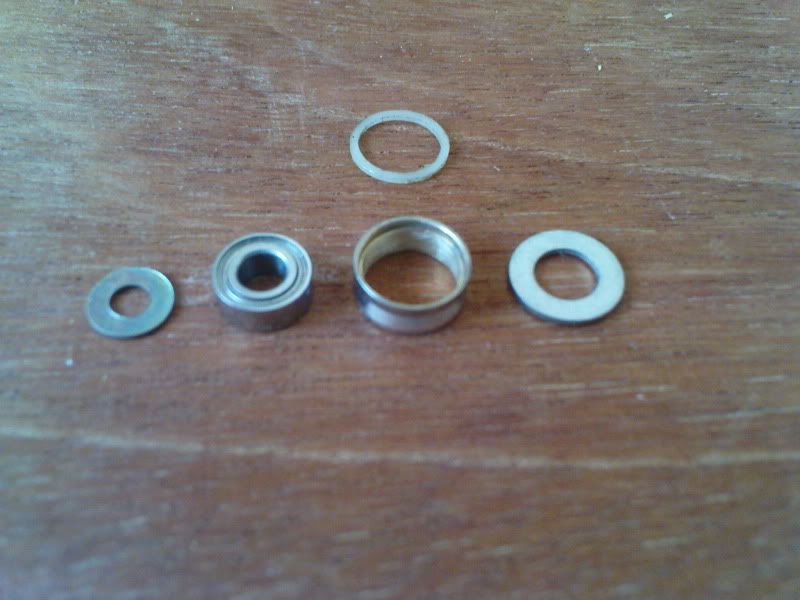 |
| Replacement Parts |
1 x Metal Washer (ID - 5, OD - 8)
Tools
Necessary Screwdrivers
Semi-Circle Diamond file
Fine grade sand paper
Explaining the new version
The washer is used as a stopper op prevent the roller from moving upwards into the housing that is connected to the bail arm.
The Ball bearing is to provide a smooth rolling mechanical aid to the roller.
The washer and the bearing replaces the White cylinder portion of the original part.
How to install
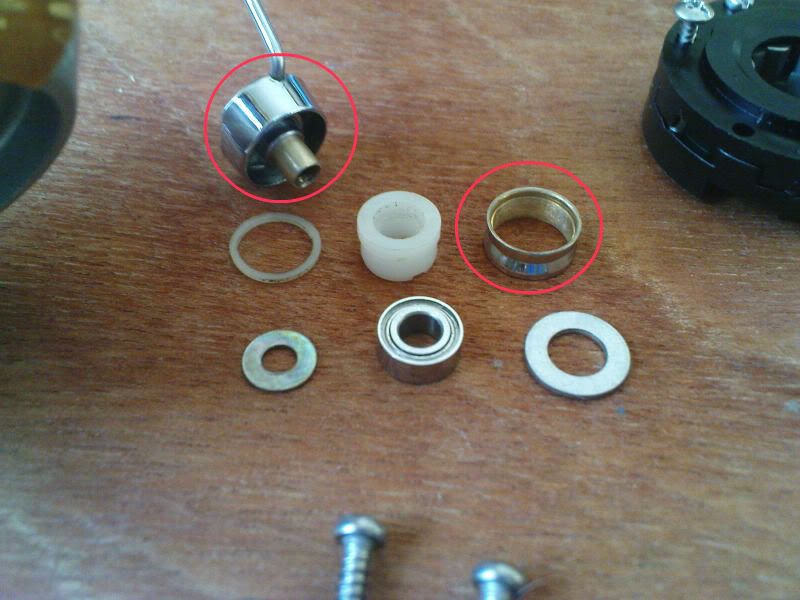 |
| Circled parts - Works required |
Should it does not fit, use the diamond file on the parts that doesn't fit, diamond file works in a way that it is the number of times you move the file over the parts rather then the force applied. Thus how much the material is grind down, it is the number of stroke that matters not the pressure applied. Stop after a while to check, once it fits snuggly, use the fine grade sandpaper to smoothen the surface that have been worked on. You should not need to take a lot of material off, it is more like a minor fitting change rather then a major surgery.
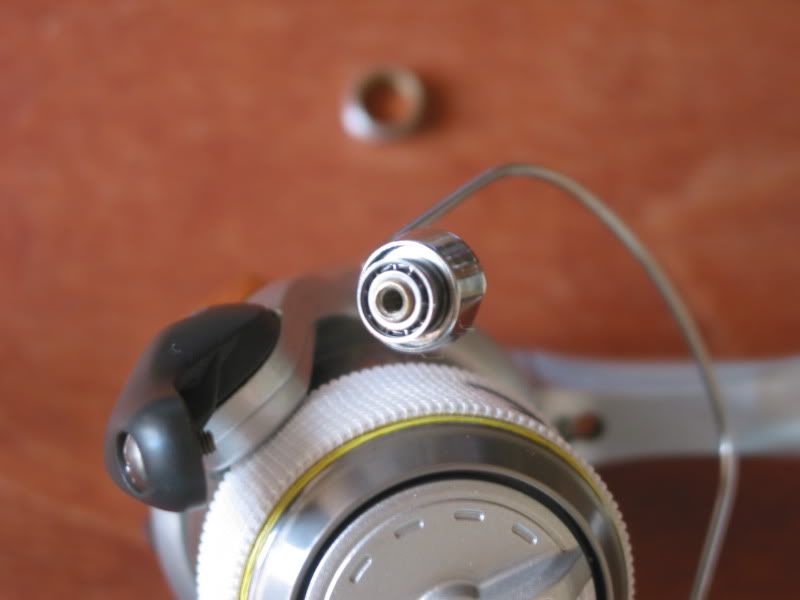
Once done, assemble the parts, washer - Ball Bearing - Roller - Teflon (?) Ring, and screw it back into position. Oh, do not forget to oil the bearing before screwing the entire assembly together.
This process is reversible, just remove the washer and bearing and place back the white cylinder thingy back if you don't like it. The minor bit of material you have then off is not going to affect the performance of the original parts much.
This is likely to be my final version for upgrading the roller bushing to bearing for Shimano budget reels. I have taken out the modified reels for 2 test run and have no problem with the modification. What I like about this version is that in future should the bearing got busted I simply need to buy a new bearing to pop it in without any further modification to the bearing.
Below are some pics of the process.
 |
| Washer to prevent roller moving into the housing |
 | |
| Assembly finished, everything fits in nicely |
 |
| Like Slimming ads, Before and After |
0 comments:
Post a Comment