
 |
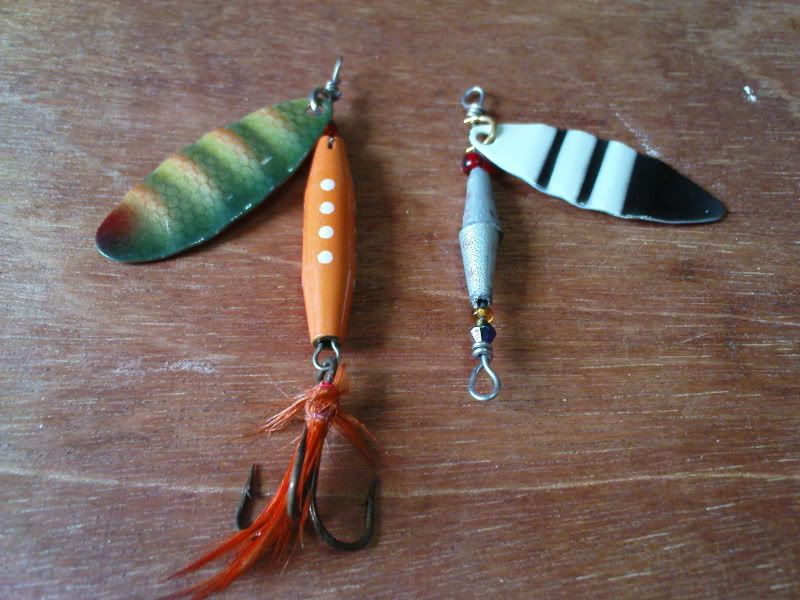
| Abu Reflex on the Left, DIY on Right |
Most off the shelf spinners are usually heavier then what I would like them to be, so a few years ago, I made an on-line purchase of some common spinner blades and clevises. But with my usual stroke of bad luck, only the blades arrives and the clevises are somehow not in the package. So these blades are sitting at my box of lures as I could not find the clevises in our tackle shops. I have sort of given up any hope of using these blades as the clevises are proving to damn elusive to be found here.
Just a couple of days ago, I visited a tackle shop for the very first time just to check out one particular fishing rod, didn't like the rod and when I about to leave, heavy rain comes pouring down. No choice but to hang it the shop for a little longer to browse, and suddenly it appears in front of me, the rare elusive clevises that I have been searching for so long. Not just one or two packs, but a hell lot of them too. Like a kid in a candy store, I happily pick up 4 packs of 2 different sizes to continue this project that have been KIV for years.
History lesson and story telling session over, now the project. This is a really simple project, as mentioned the two most important component are purchased off the shelf, thus this is more like an assembly project more then anything else.
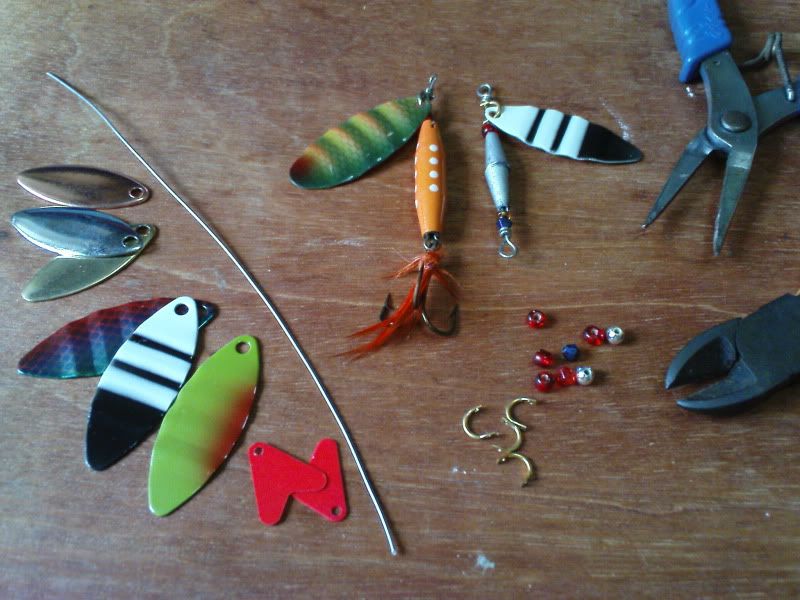 |
| Everything you need, well almost. Missing from pic is the running sinker. |
1 x Long Running sinker (choose a weight suitable for your setup)
1 x Spinner Blade
1 x Clevises
A few beads
Stainless Steel Wire
Wire Cutter
Flat Plier
That's all it is to this project, simply cut a suitable length of the SS wire, form a loop at one end and twist the tag end around the standing wire at least twice.
Next assemble the following, bead (optional - to adjust the distance between the blade and treble hooks), sinker, bead, clevises with blade attached.
Form a loop after the clevises, give yourself a suitable length as the clevises turn best without obstructions, twist the tag end at least twice. Make sure that the blade spin round well.
That's about it, paint the sinker should you wish, add a treble hook on with a split ring. Put the in the red color 'tail' should you wish or decorate the treble with feathers.
Simple assembly job and you will have a spinner that's customized to your setup.
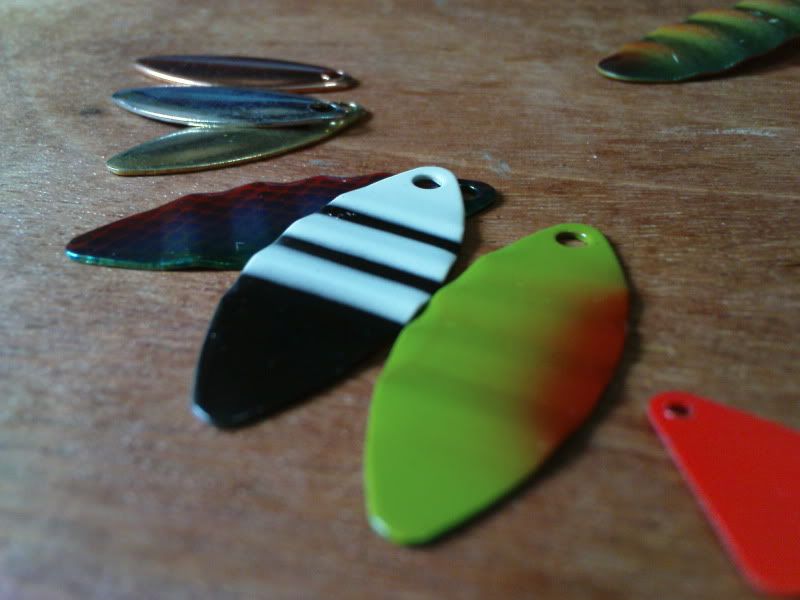 |
| Spinner Blade, two different style. |
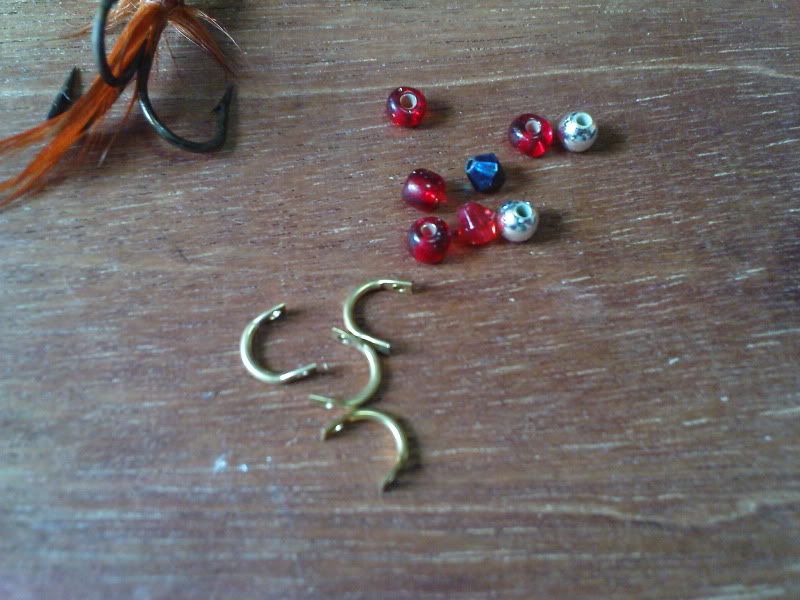 |
| Beads and Clevises. Clevises are cheap but very important for the blade to spin freely. |
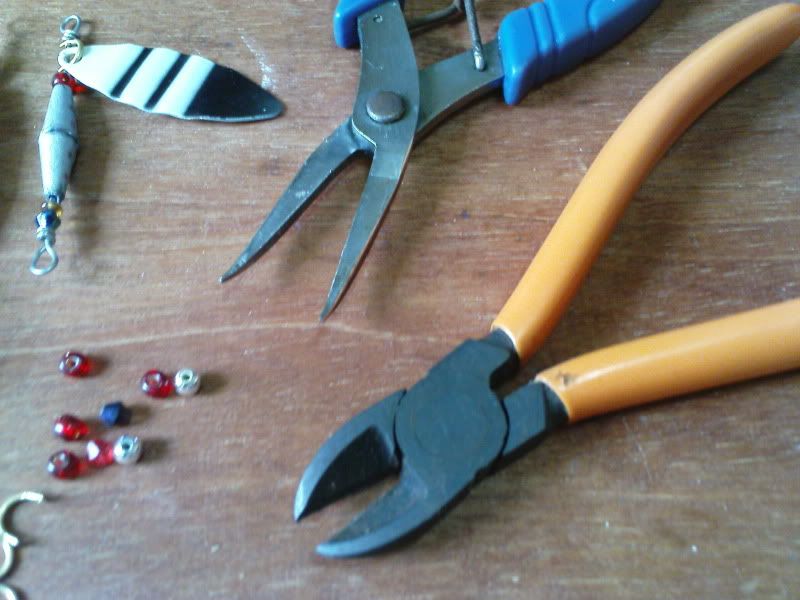 |
| Small Wire cutter and a Flat Plier, use a flat plier so no marks will occur on the SS wire when you work in it. |
0 comments:
Post a Comment