02 June 2012

Roller Bushing to Bearing - Version 2; Shimano Reel

Reference - Version 1

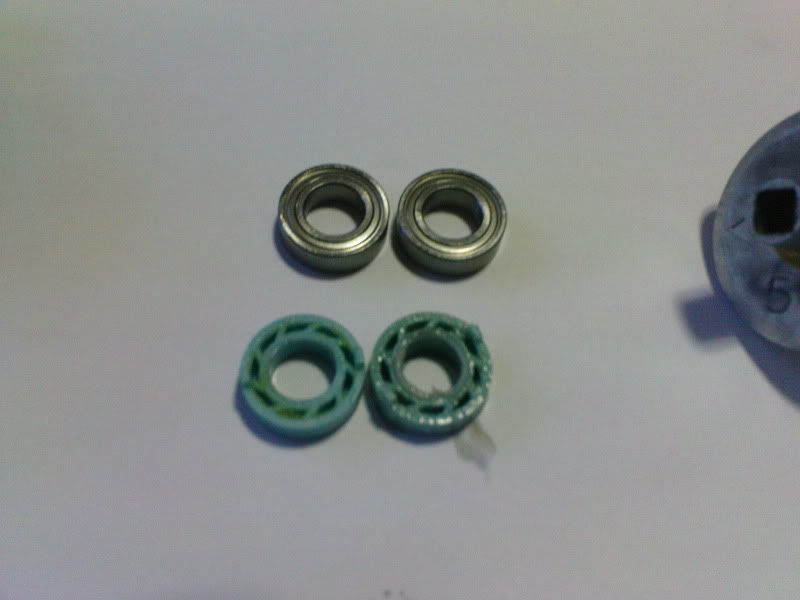
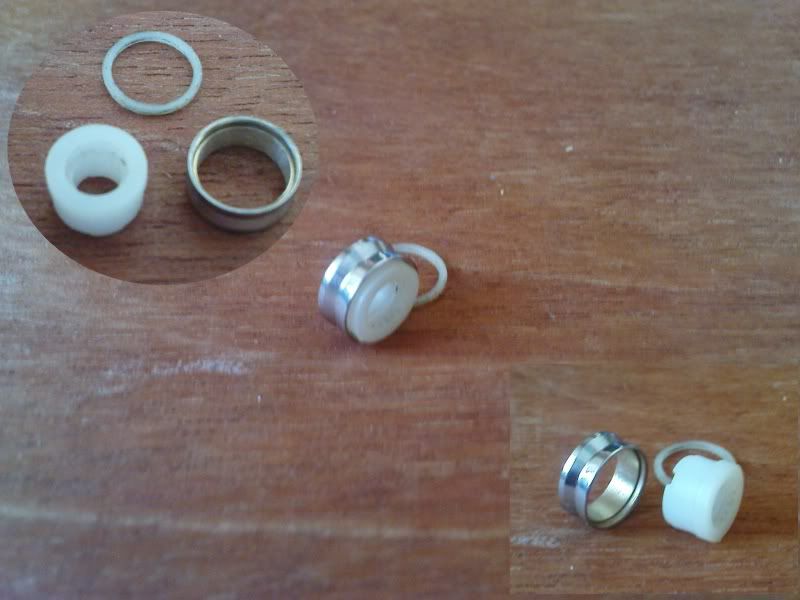
Parts of the roller bushing
For a long time I have been using the first version for my Shimano Alivio reel, really dun feel the need to do anything to it as it works well and basically there is only reel that needed for the modification then. Then disaster struck and the bearing got busted and I need to change it, moreover after gotten 2 more budget reels at a Shimano event, I need to find a new way as one of the part in version one is hard to find.

The problem with version one are
1. Ball Bearing needed work, the outer race have to be grind to a smaller diameter to fit into the roller.
2. That means that for every bearing that got busted, I need to work on the replacement bearing.
3. One part is close to impossible to find, I need something that is easily available since I have 2 more reels to receive the roller bearing upgrade.

22 May 2012

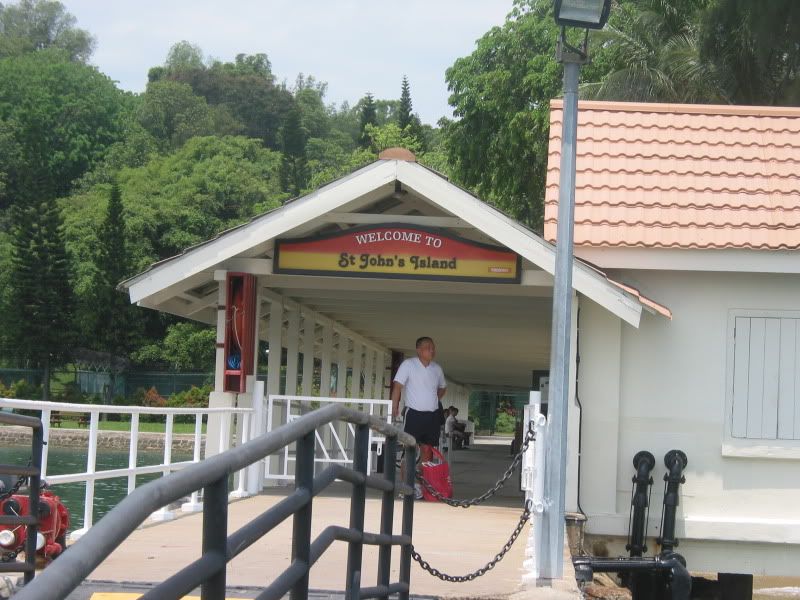
St John Island - 20 May 2012

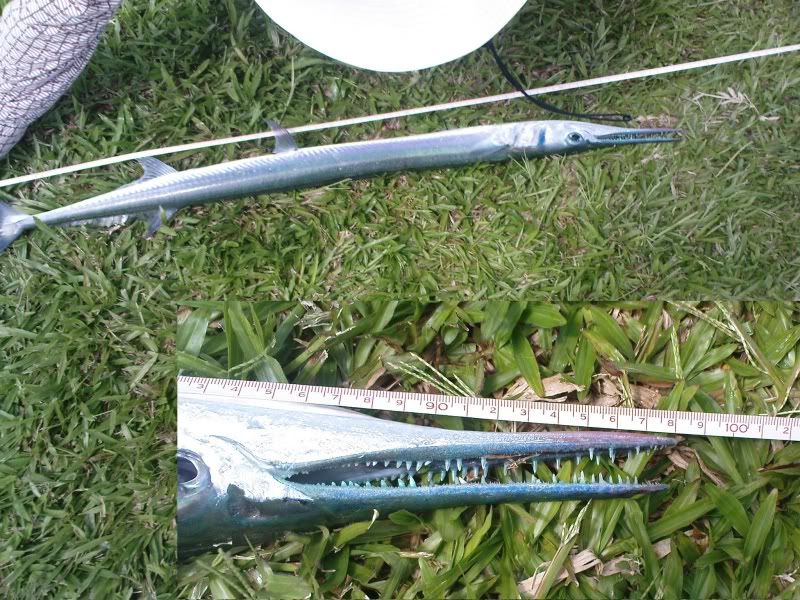
Todak posing with the tackle that kills it
Made this trip basically to seek revenge from the last trip, tide is similar so too is the weather. Hoping to see some queen fish again, no time is wasted to jig for bait fish from elsewhere, instead once we touchdown, straight away we headed to the linkway and hope to get some live bait fishes there.

Similar to the last trip, bait fishes are hard to come by, finally get one from an old uncle and quickly hook with on my noodle rod. And the wait begins for the arrival of the queen.

Saw a splash earlier so hopefully it is a sign, but alas a todak took my live bait and then spat it out, killing it. No choice but to start bottom fishing again for bait fish while leaving the freshly killed bait fish in the water.


Then the todak strikes again, DesT notice some action on my side and walks over.
DesT - Look like it is a big one I saw earlier.
Me - Big mah? I dun think so, although it didn't jump much.
DesT - Let's see when it closer.

a while later.....
DesT - Yeah, it looks like the big one I saw on the other side.
Me - Doesn't look big to me, maybe 80cm plus
DesT - Hmm... doesn't look that small to me
Me - I dun really care, I wanted the queenie, this is a by-catch

So up it comes, once it is on the grass patch then did I notice the length of it, it is indeed not that small. DesT took out the measuring tape and measure it. It comes just short of One meter, considered large in our local water.

Well, that's the only decent catch we had the entire day, and this is going to be donated to Raffles Museum to be preserved as part of their studies.

 ~~~~~~~~~~~~~~~~~~~~~~~~~~~~~~~~~~~
Tackle used
Rod - GLoomis GL2 NR1382
Reel - Shimano Alivio 2500 body (Modified) with AernosXT C3000 spool
Line - Spiderwire EZ Braid 10lbs, with 12lbs Surecatch leader
Rig - Float with 15lbs line and Aji 12 and Aji 14 double hook


20 May 2012

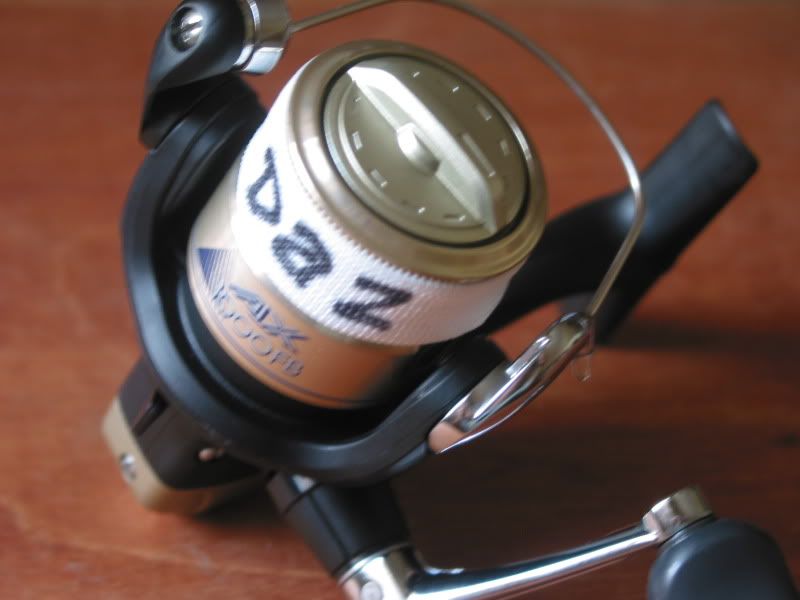
Spool Line Holder - DIY Style

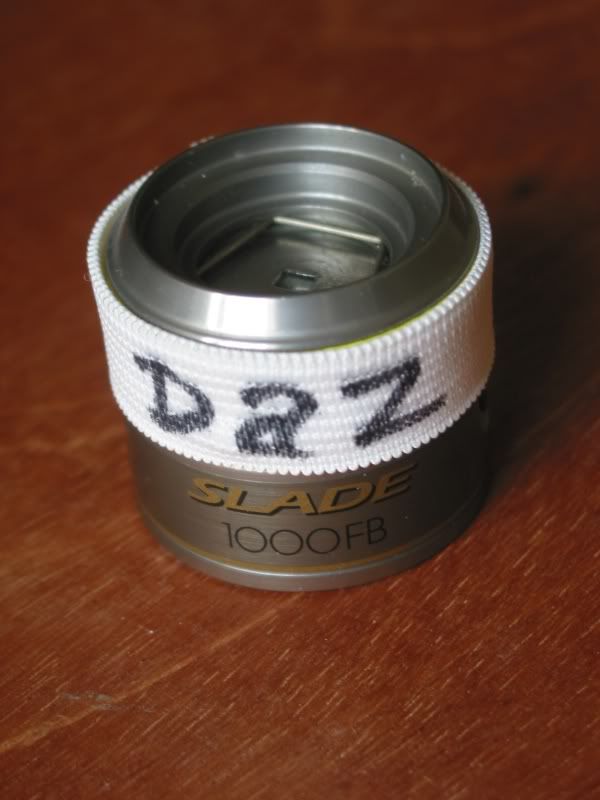
Finished Product on Reel
I have always wanted to do this when I started freshwater luring. As usually the fishing starts at day break, thus the night before I will tied all the necessary terminal tackles and will be almost ready to go when I reached the fishing ground.

However, I didn't get to start doing it until recently where the past couple of trips, for various reason, I needed to setup fast and time is wasted for me to tied the terminal tackles.

Initially wanted to buy off the shelf, but when I see the stuff available and the price, I rather put my money to better use. Taking those commercially available as a reference, thought of a few design and finally decided to get it done once and for all.
Made to Measure, this one fits a 1000 sized reel

There is a couple of design swimming in my head when I am shopping for the stuff required, but decided on this for a few reason.
1. It is cheap
2. I have no idea how long can the elastic band last, so doesn't want to waste money on velco strips to make it adjustable.
3. As mentioned, as it is cheap, I can basically make one for every single reel that I have, so no need for it to be adjustable.
4. Purely for vanity reason, I can customized it with my nickname, instead of doing free advertisement for others.

The design and production is so simple that I am kind of embarrassed to put it up, had I managed to get the elastic bands in black or red, I believe it would look better. Anyway, the concept of this design is from the fingers guards that I used when I played basketball donkeys years ago.

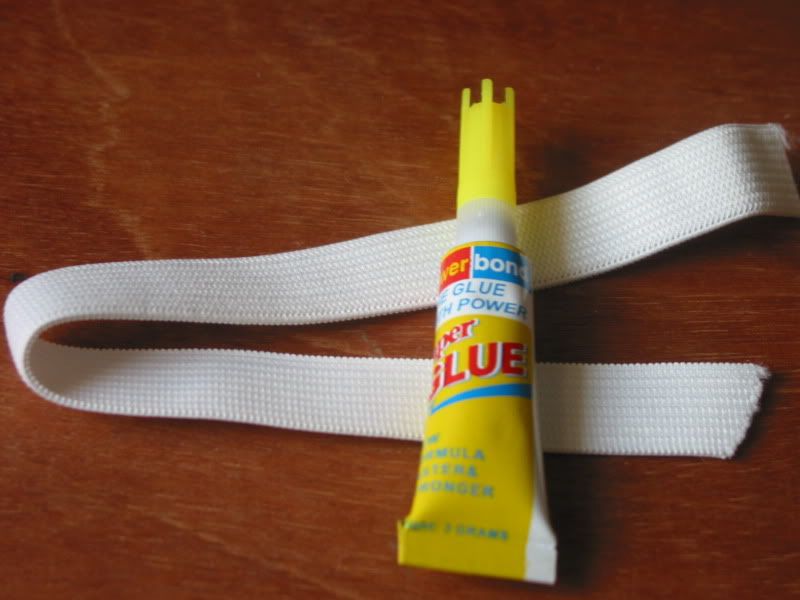
Item Required
Elastic Band (I am using one with 15mm width for this, use one that fits your spool)
SuperGlue
Flat Pliers
Cig Ligther
Even the Super Glue I use is a cheap one.

Work out the circumference of your spool (if you have forgotten it is 2πr)
Cut elastic band to this length.
Use the lighter to burn off those frayed ends.
Apply Super Glue to one end of the elastic band at about 1cm width.
Put the 2 ends together, with the Super Glued side in contact with the other end. Overlap at appox 1cm.
Use a flat plier and apply pressure to the overlapped portion, avoid using fingers as the glue might get onto your fingers.
Viola, it is done and ready to use when it dries.


Now, based on how what it described above, and using a very complicated mathematics calculations, you will find that the finished elastic band about 1 cm smaller then the spool circumference. The smaller diameter of the elastic band is to keep the line in place and is not too difficult to put it on as well.


Of course if you are doing for a much bigger reel, you might want to get a thicker elastic band. But for Shimano 1000 to 2500 sized reels, I find that 1.5cm is just about right.


18 May 2012

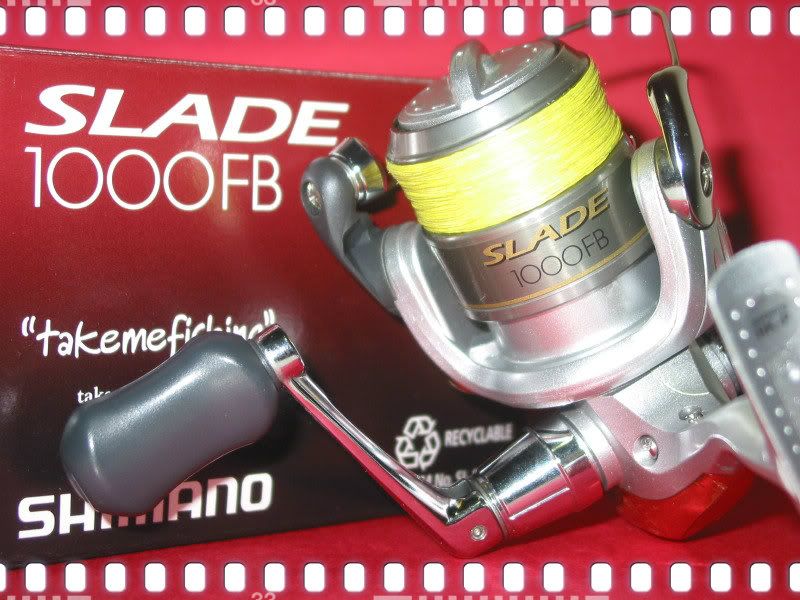
Shimano Slade 1000FB - Upgrading the reels

When I first gotten this reel at a Shimano event, I decided not to modify it, use it out of the box for as long as I can and see how long can it last. Mixed bags of respond from me, the good part is that the reel lasted with zero maintenance, bad news is that the bushing holding the Drive gear starts to create more friction that the inertia force required when you start to crank the handle increase quite a fair bit.

Thus make my way down to the ball bearing shop to get the necessary bearings, and do the change of the bushing to bearings. Of course, since I am dismantling the reel, might as well clean up everything and give it a full service.

And this reel also get my upgraded version of roller bushing upgrade to ball bearing. The previous version is hard to replicate as it is tough to find the necessary parts, and the need to trim down the bearing outer race to a smaller diameter. More on this on my further posting.

01 May 2012

Three old man and a Queen

22nd May 2012, a planned trip to St John island to do some fishing, the tide is right to do some todak hunting and I have some other stuff to do, namely to take some pics for an article for a fellow fisho, and test out the new lines that I have spooled in.

Upon reaching, I immediately start to jig for tamban, on previous trips, they are pretty easy to get, however on this trip it is tough, before long we know what happen, there is a queenie whacking baits fishes just around the area. DesT hooked up a live tamban and managed to get a hit, but failed to set the hook. He is so hyped up that he refuse to move his butt until much later. With a predator in the area, tambans are hard to come by, finally we have no choice but to get some glass fish on top of the few precious tamban we get.

26 April 2012

Upgrade your Shimano Reel

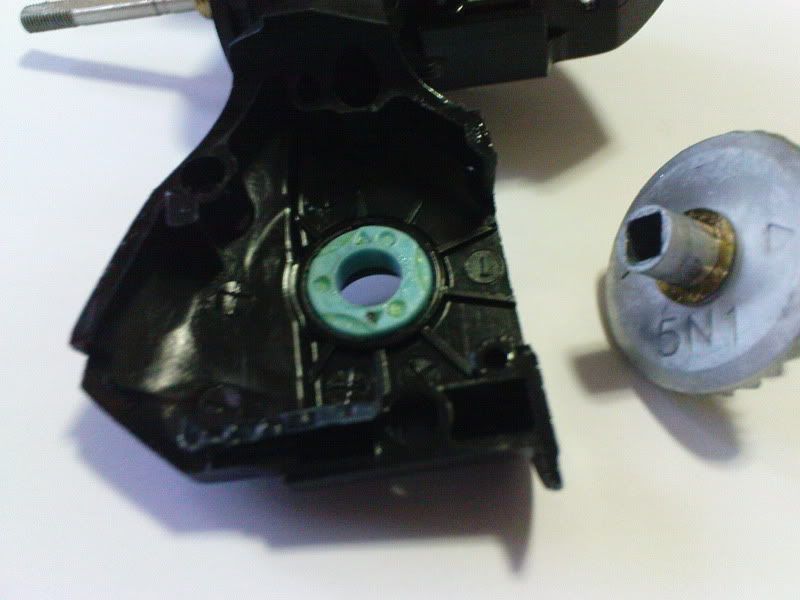
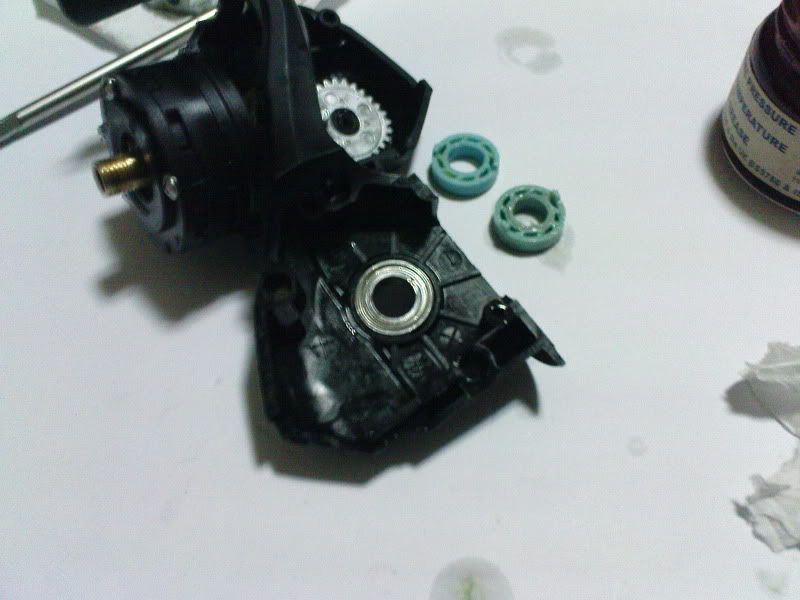
Drive gear bushing (round blue object)
This is a common sight for budget Shimano reels when you open the reel, the sickening sight of bushing for the drive gear.

Nothing wrong with them actually, but after using my Shimano AX 1000 FB for a period of time without any modifications, it start to act up a little. The inertia force required to start cracking increases, however once it gets going everything is back to normal.

It can be a simple fix, just one drop of oil on the two bushing will solve the issue. But since I intend to keep this reel for a while, and use it for small game, I might just as well do the upgrade as well.

The upgrade is as simple as it gets, use this as a reference to how to dismantle your reel.


Reel -  Shimano AX 1000 FB
Item required
  • 2 x Ball Bearing 7x13x4mm
  • Oil for bearing
  • Necessary tools
Look how much grease is in it
Once you open up the internal of the reel, it will look like the picture on the Top and Right. The bushing are the blue circular object, they are the one that supports the Drive Gear. The Drive Gear would turns whenever you turn the handle, thus by changing to ball bearing would enhance the fishing experience.

The next step is to remove bushing and pop in the next bearings. Oil the bearing before assemble the reel.


It could be fast and easy, but if there is a lot of loose play on the handle or hard to crack after you assemble, then you might need to adjust the number shims used.

I have to do the adjustment a few time to get it right, now the pinion gear and drive gear are tightly mashed, and very little loose play in the handle. Feel very good!


23 April 2012

Shimano C3000 Spool Capacity for Braided Line

This is something that I wanted to document for a long time. But never ever get to start doing it use to the lack of standardization of measurement between fishing tackle manufacturers, gathering information could be a pain in the arse.

Since I have recently spool in new line into Hybrid Shimano reel, so start to record for future reference.
Would appreciate if anglers would contribute as well.


Spool - C3000
Manufacturer Specs
No.2.5 / 180m

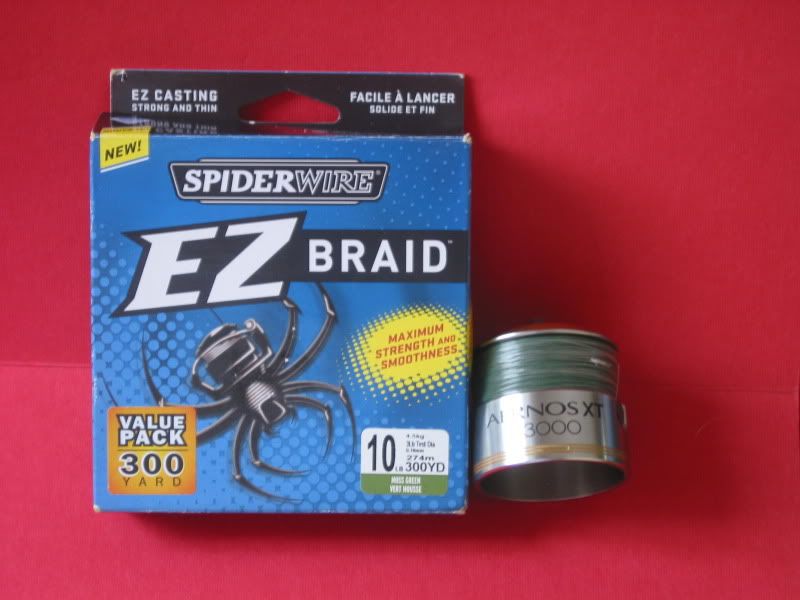
Line - Spiderwire EZ Braid
Manufacturer Specs
Strength - 10lbs (4.5kg; 3lbs Test Diameter)
Diameter - 0.18mm
Length - 300 yds (273m)
This is close to PE1.2 (Reference)

Result - I manage to spool the entire 300yds spool of the 10lbs braided line into the spool with minimum mono backing (Just to prevent line slip only).


Related Posts Plugin for WordPress, Blogger...